| Manage Cutters | |
|---|---|
|
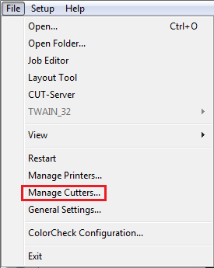
The Cutter Manager allows you to activate, deactivate, and configure cut marks and settings for your cutters. You can open the “Cutter Manager” dialog by clicking File > Manage Cutters...(Figure1). Your available cutters are listed in the Cutter box.
NOTE: Not every cutter supports customized marks.
Use the following options to manage your cutters:
The [Configure...] button allows you to setup and configure options and cut marks for your cutters.
To configure cut marks:
NOTE: Not all cutters have the same options
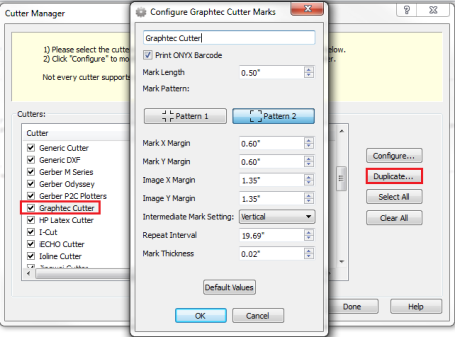
You can create custom mark variations for the same cutter. Highlight a cutter and click the [Duplicate] button. This opens the Configure Cut Marks dialog, with “Copy” appended to the cutter name (Figure 3). Enter a new name if desired, and select the settings you want for this variation of the cutter, and click [OK]. The duplicated cutter will be listed in Cutter Manager and will show up in the [Contour Cutter Selection] list with the new name that was entered (Figure 4).
NOTE: Accessing [Manage Cutters] interrupts all processing and printing.
A list is displayed of all the cutters supported by ONYX. You can click [Select All] button to activate all cutters, or individually select a cutter to activate it.
In the list of supported cutters you can deactivate them by clicking [Clear All] button. This will deselect all cutters, or you can deselect clicking them individually.
NOTE: Accessing [Manage Cutters] interrupts all processing and printing. |
Figure 1
Figure 2
Figure 3
Figure 4
|